Here’s the bit that often gets missed with promotional merchandise: the product is only half the job.
The branding is what decides whether someone keeps it on their desk, wears it to the gym, carries it to every meeting… or quietly launches it into the nearest charity bag when nobody’s looking.
A logo on a hoodie, notebook or metal bottle can look brilliant. It can also look like it was applied during a power cut by someone using a potato. The difference usually comes down to choosing the right branding method for the product, the material and the way you want people to feel when they pick it up.
So, rather than chucking a glossary of logo printing methods at you, let’s make this useful.
You’ve got a hoodie. A notebook. A bottle. What should go on each one, and why?
First, choose the feeling
Before choosing a technique, ask what the merch needs to say.
- “We’re established and reliable.” Try embroidery or engraving.
- “We’re bold, colourful and a little bit different.” Look at full-colour digital print or raised 3D digital print.
- “We’re premium, but we don’t need to shout.” Debossing, blind embossing or foil.
- “This is a proper gift, not something rescued from a conference table.” Add presentation packaging, wraps or personalisation.
The material matters too. Fabric, leather, coated paper, metal and plastic all behave differently. You can’t use one method everywhere and expect it to look good. That’s how you end up with a beautiful logo disappearing into a fleece like a dog into a hedge.
Printed branding: colour, detail and flexibility
Screen print

Screen printing pushes ink through a stencil onto the product. It’s a dependable choice for bold artwork and strong blocks of colour.
It works especially well on:
- T-shirts and hoodies
- Tote bags
- Workwear
- Sportswear
- Larger runs of simple artwork
It feels flat or very slightly textured, depending on the ink, and gives a clean, confident finish. It’s durable when properly applied, although repeated washing and heavy wear will eventually take their toll.
Screen print is usually more cost-effective on larger quantities. Small runs can be done, but the setup makes it less attractive for a tiny order.
Pad print

Pad printing uses a soft silicone pad to transfer ink onto awkward or curved surfaces. Pens, bottles, small tech products and desk accessories are its natural habitat.
It’s useful when your logo needs to sit neatly on a narrow, rounded or uneven area. The finish is generally flat and precise, though the printable area is smaller than with screen print.
It’s a practical choice, not a show-off. Occasionally, that’s exactly what you need.
Full-colour CMYK digital printing

Full-colour CMYK digital printing applies artwork directly to the product using cyan, magenta, yellow and black inks. It’s a good option for detailed graphics, gradients, photographs and designs with several colours.
Choose it for:
- Detailed artwork
- Shorter runs
- Promotional clothing
- Bags and accessories
- Products where colour is doing most of the talking
It gives you plenty of creative freedom without the need for a separate screen for every colour. The trade-off is that durability depends on the product and surface, so we’ll always match the method to how the item will be used.
And if your brand colour must be bang on, Pantone colour matching is the sensible move. It helps stop your carefully chosen green arriving as “slightly ill avocado”. We match the colour as closely as the material and process allow.
Heat-transfer printing

Heat-transfer printing applies printed artwork to the product using heat and pressure. It’s useful for clothing, sportswear, names, numbers and detailed designs.
It suits smaller quantities and individual garments particularly well. The finish can be smooth, vibrant and highly detailed. On heavily washed or stretched clothing, though, the quality of the transfer matters enormously.
Good artwork and the right garment make it work. Cheap shortcuts make it crack, peel and generally give up on life.
Dye-sublimation

Dye-sublimation turns ink into a gas, allowing it to bond with suitable polyester materials. The colour becomes part of the surface rather than sitting on top of it.
It’s best for:
- Polyester sportswear
- Performance clothing
- All-over garments
- Flags and fabric products
- Highly detailed, full-colour artwork
The result is vibrant and hard-wearing, with no heavy layer sitting on the fabric. It’s less suitable for cotton and some darker materials, so the product needs to be chosen around the method.
The standout: 3D raised digital print

This is the one to look at when flat print feels a bit… well, flat.
3D raised digital print builds up a full-colour design in layers, creating a raised, tactile finish on the surface. You can see the colour, but you can also feel the shape. Run your fingers over it and there’s actual relief beneath them, not just ink pretending to be interesting.
It works brilliantly on:
- Hoodies and sweatshirts
- Technical clothing
- Bags and soft goods
- Coated fabrics
- PU and leather-look products
- Modern lifestyle and sports merchandise
The big advantage is the combination of detail and depth. You can use gradients, fine lines, multiple colours and more complicated artwork while still getting that raised, physical finish.
It feels modern. It looks considered. It catches the light. More importantly, it makes the product tempting to touch, and tactile products tend to stick around longer than forgettable ones.
There are trade-offs. It’s usually more specialist than standard print, and extremely high-flex or high-abrasion areas need testing. But for a piece of branded merchandise that needs to make an impression, this is a proper contender.
Flat logo? Fine.
Raised logo that people keep rubbing with their thumb? Much better.
Stitched and woven branding
Embroidery

Embroidery stitches thread directly into fabric, creating a raised, textured logo. It’s a classic for a reason.
Use it on:
- Polos
- Hoodies
- Jackets
- Caps
- Backpacks
- Workwear
- Uniforms
It looks premium, feels substantial and holds up well to regular wear and washing. It’s particularly good for simple logos, names and solid lettering.
Fine details, tiny text and complicated gradients don’t translate perfectly into thread. There’s also a setup cost for digitising the artwork, and the price can increase with stitch count.
Still, when someone asks about embroidery vs print, the answer is usually straightforward: choose embroidery for durable, traditional, fabric-based branding; choose print when you need more colour, detail or flexibility.
Woven labels

Woven labels are made by weaving your artwork into a fabric label rather than stitching the logo directly onto the product.
They work well on:
- Clothing
- Bags
- Beanies
- Streetwear
- Lifestyle products
They create a neat, retail-style finish and are useful when you want branding that feels like part of the product rather than a corporate stamp. Small detail can work better than with embroidery, although the label itself adds another component and may need sewing or application.
Pressed, engraved and special-effect finishes
Debossing and blind embossing

Debossing presses a logo into the surface so it sits below the material. Embossing does the opposite, raising the design. Blind embossing usually means the impression is created without adding ink or foil, so the result is subtle and tone-on-tone.
These methods work beautifully on:
- Leather and faux leather
- Notebooks
- Portfolios
- Card holders
- Thick paper
- Gift boxes
If you’re comparing debossing vs embossing, think recessed versus raised. Both rely on shape, depth and shadow rather than bright colour.
They feel premium and discreet. They’re also durable because the material itself has been shaped. The drawback is that you normally need a custom die, which adds setup cost and makes larger runs more economical. Very fine artwork and soft, thin materials aren’t ideal.
Laser engraving

Laser engraving removes or changes the surface to create a permanent mark. It’s particularly effective on metal, wood, glass, leather and some coated products.
Use it for:
- Metal bottles
- Pens
- Tools
- Wooden gifts
- Premium accessories
- Executive gifts
The finish is crisp, long-lasting and usually understated. It won’t reproduce bright colour, and the final tone depends on the material underneath. But if you want a metal bottle that looks like it belongs in someone’s daily routine rather than a forgotten cupboard, engraving is a strong choice.
Etching

Etching creates a design by treating or cutting into the surface, often on glass, metal or other hard materials.
It gives a more tactile, slightly softened finish than a basic printed mark and works well for premium drinkware, awards and gift items. It’s durable, though the artwork needs to be suited to the surface and level of detail.
Metallic, holographic and special-effect foils

Hot-stamped foils use heat and pressure to apply a bright metallic or special-effect finish. Gold, silver, colour foils and holographic effects can all add a bit of theatre.
They suit:
- Notebooks
- Packaging
- Presentation folders
- Gift boxes
- Premium stationery
- Leather-look products
Foil is brilliant for a small highlight, border, monogram or logo detail. Covering everything in shiny gold can work too, of course, if subtlety has packed a bag and left the building.
The finishing touches people remember
Gel doming

Gel doming places a clear raised resin dome over a printed design. It creates a glossy, rounded 3D effect.
It works well on:
- Pens
- Pencils
- Badges
- Small accessories
- Keyrings
- Desk products
It gives a colourful, tactile finish, although the dome can add cost and is best suited to smaller branding areas.
Individual personalisation

Names and initials turn a standard gift into something that feels chosen.
Add personalisation to notebooks, bags, clothing, bottles, pens and executive gifts. It’s especially effective for employee welcome packs, client gifting, awards and events where each person receives something of their own.
The extra handling means it can cost more and take longer. Worth it? Usually, yes. People are much less likely to bin something with their name on it. Unless their name is Barry, perhaps. Even then, probably.
Advertising pages and tip-ins

Advertising pages, or tip-ins, are printed pages inserted inside a notebook, diary or other product.
They’re ideal for:
- Welcome messages
- Brand stories
- Product information
- Campaign details
- Event programmes
- Internal communications
The outside can stay subtle while the inside does the explaining. Handy when you’ve got more to say than will fit on a logo.
Advertising wraps

A printed wrap sits around a product or gift, adding a removable branded layer. It’s useful for launches, campaigns, seasonal gifting and products that shouldn’t be permanently marked.
Wraps offer plenty of space for colour, messaging and artwork. They’re flexible, but they can crease or be removed, which is either a benefit or a drawback, depending on the plan.
Presentation boxes, tissue paper, gift ribbons and branded wrapping paper
Packaging is part of the branding. It’s the first thing someone sees and the last thing they throw away, if you’ve done it properly.
Presentation boxes, tissue paper, gift ribbons and branded wrapping paper work especially well for:
- Client gifts
- Employee welcome packs
- Product launches
- Awards
- Premium campaigns
- Bespoke gift sets
They don’t replace product branding. They complete it. A beautifully branded bottle inside a sad brown carton is still wearing its best shoes to a muddy field.

Which branding should you use?
Here’s the quick version.
- Hoodie: embroidery for a classic durable logo; screen print for bold artwork; raised 3D digital print for colour, texture and a modern finish.
- Notebook: debossing for understated luxury; foil for impact; full-colour print or a tip-in page for detailed messaging.
- Metal bottle: laser engraving for a permanent premium mark; pad print for small colourful artwork.
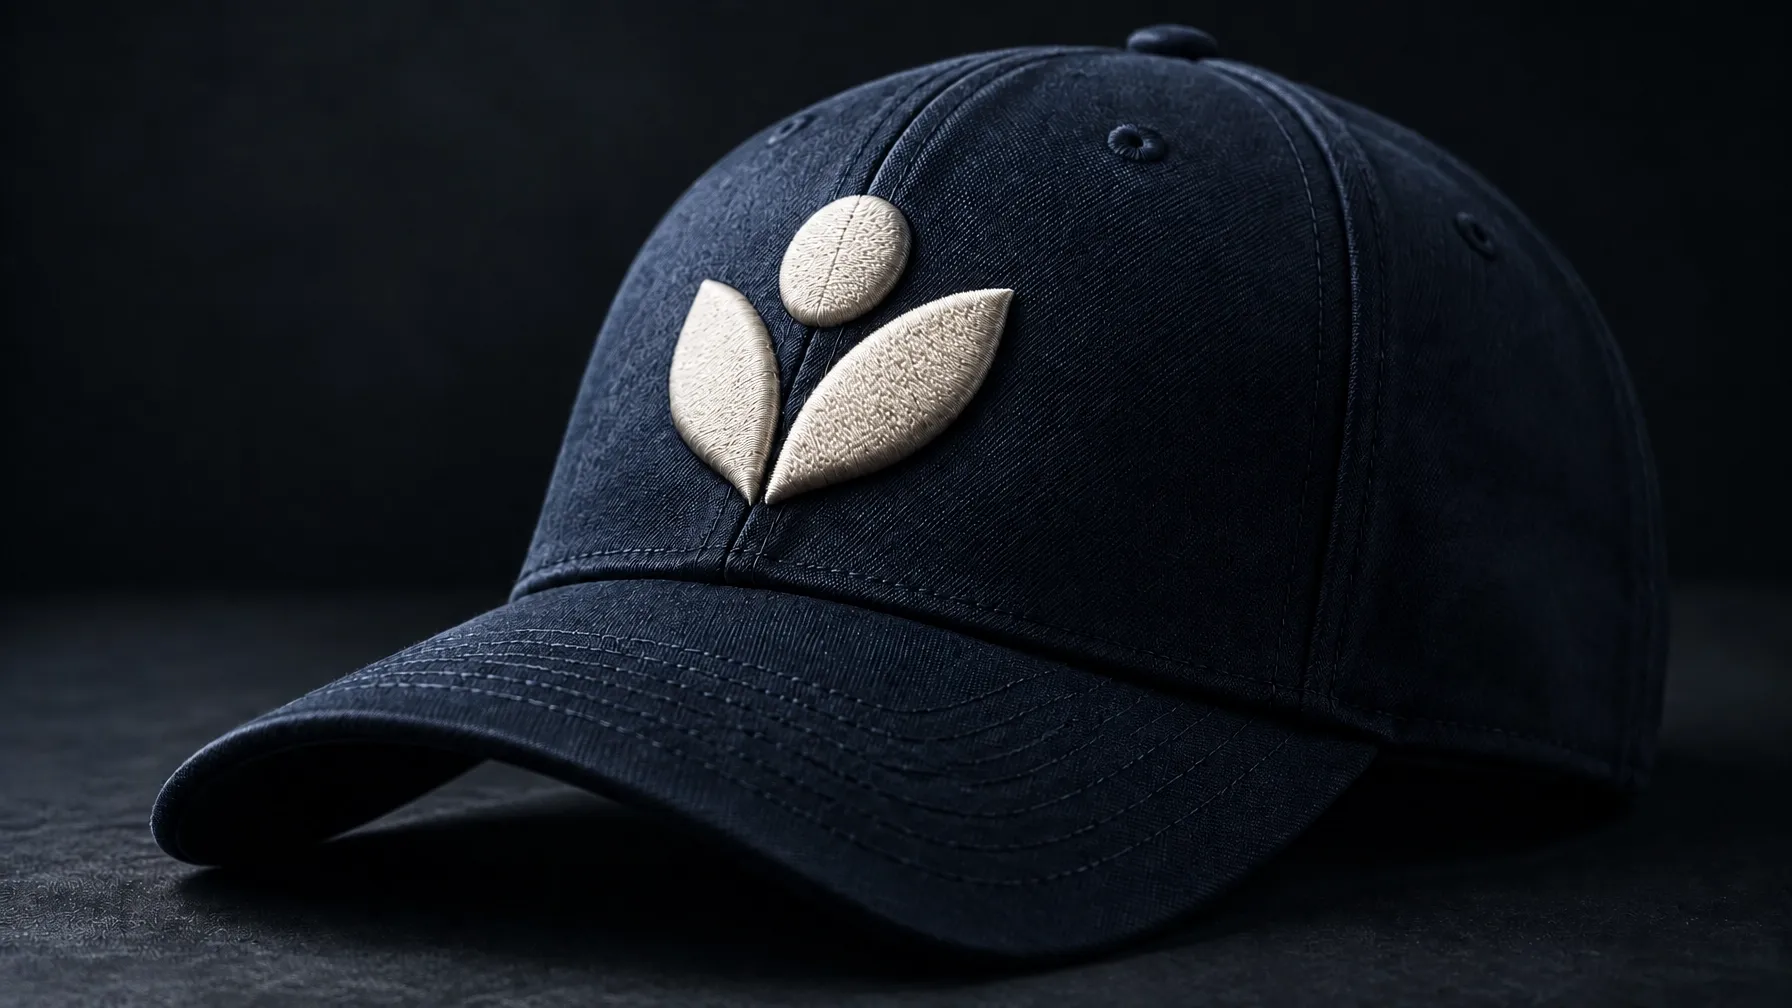
- Cap: embroidery or raised puff-style branding for a bold, tactile finish.
- Sportswear: dye-sublimation for all-over colour; heat transfer for names and numbers; raised 3D print for a standout badge or logo.
- Gift set: combine product branding with personalisation, a presentation box, tissue, ribbon and branded wrapping paper.
That’s the point: you don’t need one method for everything. You need the right method for each product.
Practical timings and quantities
Typical lead times are around 10 working days from artwork approval. Standard order quantities usually start from around 50 units, although smaller runs may be accepted depending on the product and branding technique.
Some methods suit larger orders because setup costs are spread across more units. Others (particularly digital printing, personalisation and certain transfer options) are more flexible for smaller runs.
We’ll look at the artwork, product, quantity and deadline before recommending anything. No mysterious jargon. No “that’s just how it’s done” shrugging. Just the method that makes sense.
You can explore our corporate merchandise service, see options for bespoke branded merchandise, or browse our product range for a starting point.
Frequently asked questions
What’s the best branding method for promotional merchandise?
There isn’t one universal winner. Embroidery suits fabric, engraving suits metal, debossing suits leather and raised 3D digital print suits detailed, tactile designs. The product and artwork decide the method.
Is embroidery better than print?
For durable, traditional branding on clothing, embroidery is often the better choice. Print is more flexible for detailed artwork, gradients, larger designs and high colour counts.
Is debossing or embossing more premium?
Both can look premium. Debossing creates a recessed mark, while embossing raises it. Blind embossing is especially understated because it uses shape and shadow instead of added colour.
Can you match our exact brand colour?
We can use Pantone colour matching to get as close as possible to your approved brand colour. The final result can still be affected slightly by the material and printing process, so we’ll flag that before production.
Can you brand small quantities?
Yes, small runs can be accepted depending on the product and technique. Typical order quantities start at around 50 units, but digital and personalised methods can offer more flexibility than processes requiring dies or extensive setup.
How long does branded merchandise take?
Typical lead time is around 10 working days from artwork approval. If you’ve got an event looming and the calendar is looking vaguely threatening, tell us early. We’ll be honest about what’s possible.
The short version? Don’t just put your logo on something.
Choose the finish that makes the product feel right. That’s how merch gets kept.